The Sennheiser MD421 was released in 1960 it has become one of the most popular professional level microphones in the world. (in the studio and on stage)
Since it’s first release, it has gone through a few revisions, with upgrades to the housing, output connector, basket and capsule assembly.
The model that I am reviewing is the Sennheiser MD-421-ii. This model is still in production and can be purchased new for between $380 and $500. (USD)
Here is a link to the Sennheiser MD 421 II Technical Data Product Sheet (PDF)
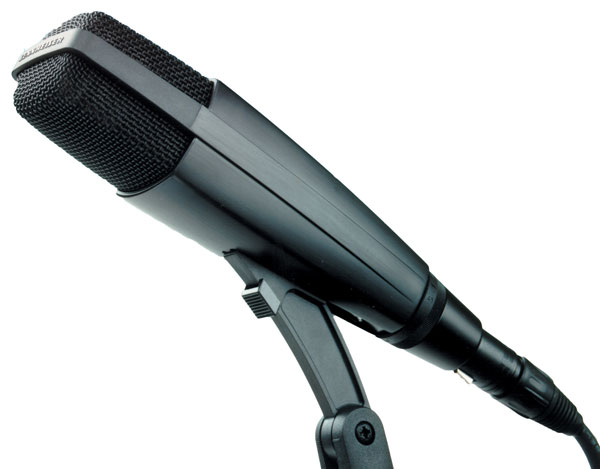
Sennheiser MD 421 ii Microphone
Upon first look at this mic one would assume that this is a side address large diaphragm condenser microphone, but it is not. This dynamic end address microphone. It is to be aimed the same way a SM58 is aimed, pointing at the sound source.
Another thing that looks odd at first glance is the mic clip. Sennheiser has built the MD 421 a unique clip. It is very convenient for attaching the mic to the clip. It simply slides into a small track and clicks in. The mic is detached from the clip by easily pressing the small button. Perhaps too easily though. It is common to see this microphone fall on the ground due to people not being aware of how the clip functions. As well, this clip is made out of plastic. Give the mic a good twist while on a stand and “crack”, there goes your clip. If you don’t have a spare clip, (that costs $40.00) you must resort to electrical tape for the rest of your gig.

5 Position Bass Roll-Off / Frequency Chart
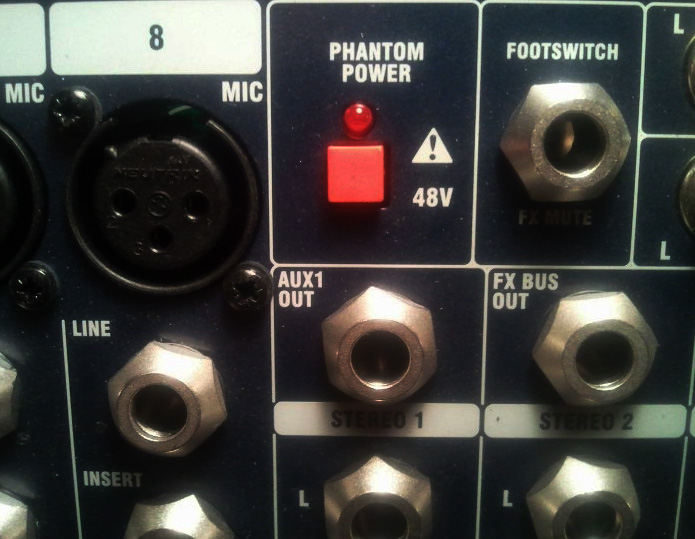
This mic has a 5 position bass roll off switch. This switch (or dial) is located at the bottom of the mic. (close to where the XLR plugs in)
The first position is the “M” position. (M for Music) This is the flat position. It disengages the bass roll off all together, which is ideal for recording full range sound sources. (like bass guitar or floor tom)
As you switch between the next 3 positions the bass rolls off more each time.
The 5th position is the “S” position. (S for Speech) This is the most extreme bass roll off setting. It would be suitable for recording a sound source where you want very little to no bass to come through. I have yet to find an application where I have preferred the sound of the “S” position to the others.
Although this mic is marketed as a studio mic, it is seen on the majority of pro stages.
And in my opinion, it looks great on stage. I like that the MD 421 microphone is entirely black. It blends into the background much nicer than other mics it’s size. (like an RE20 or SM7)
When I hold this mic in my hand it has a bit of weight to it and feels very sturdy. It’s housing is made of hard plastic. I definitely prefer a metal housing to a plastic housing, however it’s hard to tell that it’s plastic. It looks like metal, it’s heavy, and I’ve seen a MD 421 II fall to the ground more times than I can count on 2 hands and I’ve never seen one konk out or even dent for that matter. It’s a good thing they made this thing durable, seeing as they didn’t make the mic clip idiot proof. That being said, I wouldn’t use this mic to hammer in nails like I would an SM58.
Using the 421 on for Live Vocals:
As a singer, it took me a little bit of time to get used to using this microphone live. I started off with the bass roll off in the M position. I have a deep voice and found this to produce way too much bass. I tried all of the different settings and enjoyed the sound of the second position best. (the one next to the M position) I found that I was still able to get a very full sound without any popping. Despite that this microphone is great at picking up bass, one thing that it isn’t, is muddy. The clarity is crazy! Even trying the mic set flat and the bass coming through way too loud, the high-mids came through crystal clear! I wasn’t used to it at first. Prior to this, I was mainly used to hearing my voice in the monitors though an SM58. The SM58 sounded like mud compared to the 421. I realized that in the past I was used to hearing and completely focusing on low-mids and bass for pitch. I wasn’t used to hearing high-mids. After about 30 minutes of singing I had a big change of heart. (it’s going to be tough to go back to an SM58 in the times that I’m forced to)
For my FOH engineer, he was in love right when we plugged it in. Clarity, rich sound and no issues with esses, which kind of came to a suprise seeing as there seems to be so much around 5k. As far as picking up other stage noise, we didn’t have any issues. The microphone acts very similar to an SM58 in that regard.
Using the 421 on Guitar Cab:
I A/B’d this microphone in studio with a Shure SM57, Shure SM7, Shure KSM32, Royer R-121 and Audio Technica AT4050 on an Orange 4×12 with various heads and guitars, as well as on a Vox AC4TV 1×10 Combo. The Sennheiser sounded very different than all the others. You could really hear the 5k bump. When soloing just the guitar, I only preferred the 421 while trying to achieve very spanky tone. So, for country licks, it sounded great. It didn’t seem to have a lot of low-mids that I like to hear when I’m just listening to guitar. However, when I brought the mix back in, my opinions changed. The 421 seemed to cut through clearer that the other mics. Depending on the amp and the position of the mic, I felt that at times the 5k bump was a bit much. I found that I really enjoyed the sound of the 421 mixed equally with the 57 for many tones. I also had success with the 421 (even on it’s own) when mixing lead guitar layers or clean arpeggios. I did not find that the 421 made power chords sound beefy at all. However, metal style palm mutes sound outstanding. They cut through the mix amazingly.
Using the 421 on Bass Guitar Cab:
When I first tried this microphone in studio, I used it on a Markbass 4×10 w/ a Markbass head and on a Ampeg 8×10 w/ an Ampeg CL head up against an AKG D112 and an SM57. I set the mic to the M position. I remember being a little skeptical of the 421 seeing as at the time I had only used it on guitar cabs and knew it was had a high-mid bump. No contest here. The SM57 sounded OK at first, but compared to the other 2 mics the bass was super mushy. The D112 sounded much more natural. Not as muddy and I didn’t have to EQ it much. I thought the D112 sounded good until I heard in the 421. The bass was so clean. I had a closer listen by sweeping an EQ bump (high Q) across the low frequencies. I found that I could achieve a very clean very focused sound even bumping frequencies around 50. As well, the 421 handled the highs quite nicely. Normally I like to hear a lot of 1.5k-2k in bass tone, but I didn’t touch it with this mic. This is now my favorite bass guitar cab microphone. Since, I’ve used the 421 countless times on bass cabs live as well as in the studio.

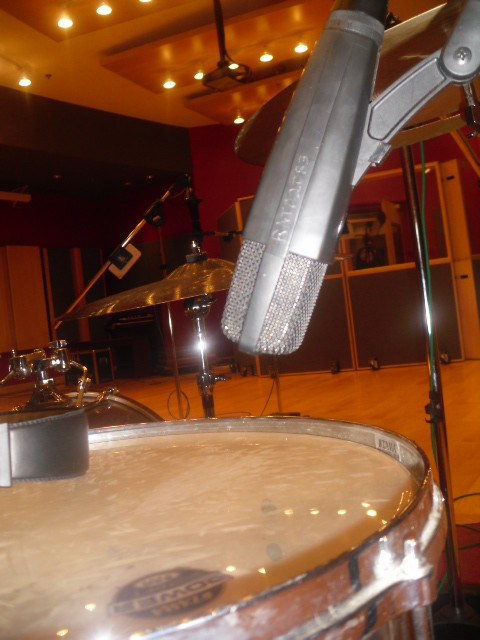
Sennheiser MD 421-ii on Floor Tom
Using the 421 on Floor Tom:
Floor tom! Floor tom! Floor tom! You have to hear a nicely tuned floor tom through this mic. The bass that it picks up is incredibly clear and gives you a great signal to work with. As well, the hits are incredibly defined! This is by a land slide my favorite floor tom mic.
Using the 421 on Rack Toms:
You guessed it. The 421 is a winner on toms. However, depending on how much bass you want to come through, you may want to go one notch past the M bass roll-off position. I don’t like how big these mics are for rack toms live. But they sure do sound great.
Using this mic on Snare Drum:
Many pros choose this microphone for snare drum in the studio. I have yet to try it. Some pros choose the 421 on snare live, but not a lot. I’m thinking this is due to it being big bulky and therefore harder to position. As well, it may pick up more hi hat bleed than a SM57 does. I haven’t heard that first hand though.
Using this mic on Kick Drum:
The MD 421 ii is a little less common on kick drum. I have actually not tried it first hand. (my 421s are usually occupied on Toms and bass cabs) If the sound of this mic on floor tom or bass guitar is any indication as to how it sounds on kick, things are looking good. I talked to several engineers that have said the have had great results with them on kick. I have even heard of people using it on the batterhead for capturing attack (next to the kick pedal). This method can capture more attack and can be blended in with your other kick mic, similar to how many people use a Shure Beta 91 or SM91.
Many radio broadcast studios are outfitted with Sennheiser MD 421 ii microphones for their announcers. Chances are that you’ve listened to 421more than you think!
To sum everything up:
– The Sennheiser MD 421 II Dynamic Microphone is a must have “Swiss Army Knife” microphone for serious studios and sound companies. If you talk to any pro audio engineer, they will most likely agree.
– If you’re a singer, you should see how this mic sounds on your voice. (every voice is different)
– If you’re a guitar player, this is going to make you cut through the mix.
– If you’re a drummer and you don’t already own at least one 421, what are you still doing reading this post!? Go buy one!
* However, be aware of the plastic mic clip! *
This mic is expensive. You can buy 4 SM57s for the the price of 1 MD421II. If you can afford it, you won’t regret it.